How to get started with Oculus Go on Unity
The Oculus Go has just been released by Oculus and a lot of developers have started receiving it and are experimenting with it. I’m among them: today I’ve made my first builds and so I want to guide you through the first very basic steps in building an app for Oculus Go on Unity, to spare you some little headaches. This guide will be very very basic and will just introduce you to the initialization of the development environment and in doing the first build. Take my hand and follow me.
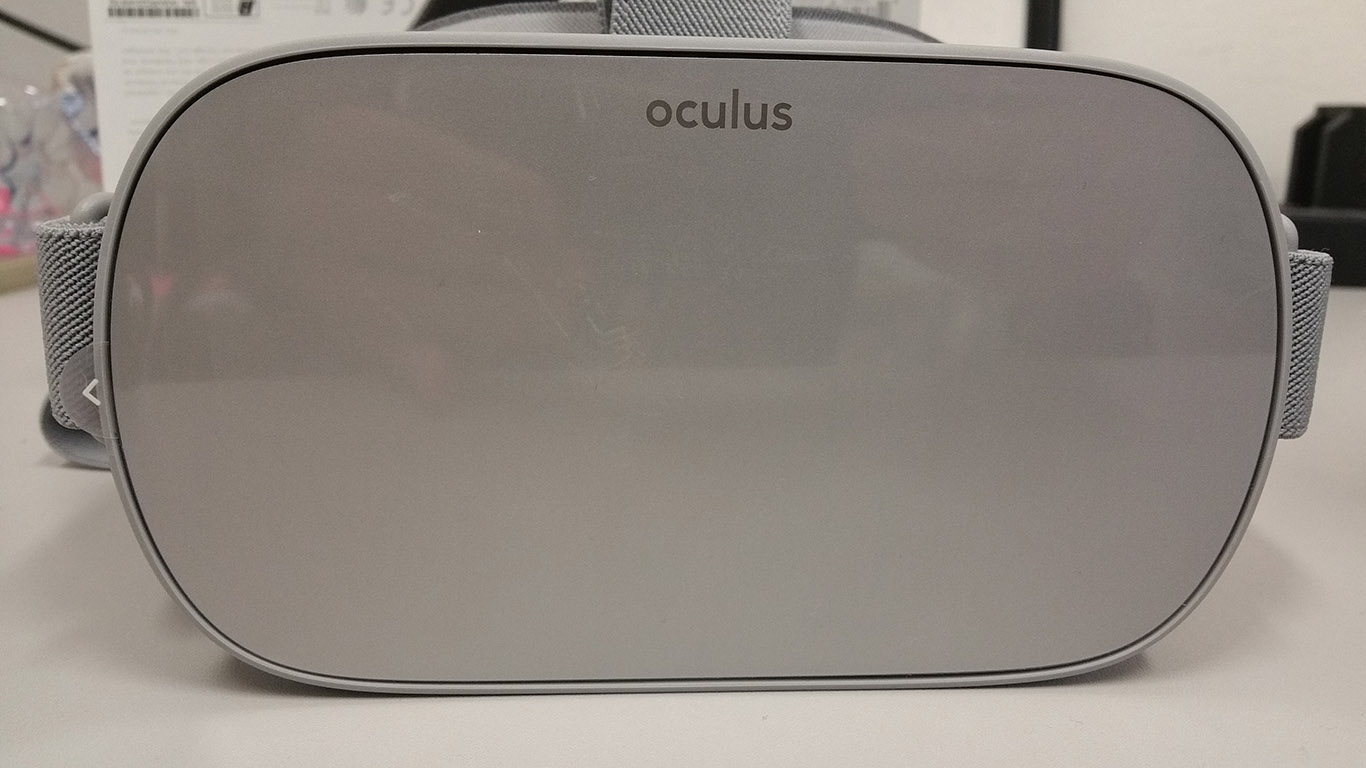
Let’s start. You have your shiny new gray Oculus Go on your desk and you want to start developing for it using Unity Engine. That’s great. First of all, we have to enable developer mode on the Go.
How to enable developer mode on Oculus Go
As with all Android devices, you have to enable developer mode to be able to push apps on the Oculus Go. I spent 10 minutes navigating in all menu items inside the Oculus Go, without finding the Developer Mode option. And the reason is: there is no way to enable it inside the headset.
The right place is the companion app, as it is explained in this guide by Oculus. The steps are the following:
- Open the Oculus companion app on your phone;
- Select the Settings tab;
- Connect the app to your headset via Bluetooth. Now you should see just below your name, a menu item with the name of your Go, together with its battery level;
- Tap on the name of your Oculus Go, it should open a drop-down list with some settings: Wi-Fi, Controller, etc…
- Select Other settings;

First tap on the Oculus Go name, then select Other Settings in the drop-down menu (sorry for the Italian language of my Phone!) - In the screen that will pop up, select Developer mode;
- Enable developer mode.
Notice that to be eligible for developer mode, you have to:
- Have an Oculus developer account;
- Have at least an associated organization. If you don’t have an organization, just create a fake one in your developer dashboard.
Now your headset is unlocked for development, cool!
Set up the development environment
Now you have to set-up your Unity development environment.
First of all, you have to install the Android SDK and Android SDK Tools. I won’t go too much into details about that here, because it would require a separate guide only for that. Usually, this means installing Android Studio and then using its IDE to install the required Android SDK (by selecting Tools->Android -> SDK Manager inside Android Studio). At the current time of writing, Go runs Android 7.1 (SDK 25) so be sure to install that SDK version. Install also the various SDK Tools and Platform Tools. After that, put the directory <Android_sdk_install_dir>\platform-tools inside the PATH environment variable. If you want some help for all this process, have a read to this tutorial.
Let’s see if things are working correctly: connect your Go to your PC via USB. Put the Go on your head and look inside it: accept whatever pop-up you will see there asking for an authorization.
Now remove the headset and see if things are working: open a command-line window (Win+R and then run “cmd”) and type “adb devices”.
At this point:
- If things are working well, you should see the ID of your device and the caption “device”;

If you see something like this, then you can drink some champagne - If things are not working well, you may see no output or the ID of your device with the caption “unauthorized”. Or the PC may even not recognize the command “adb”. Troubleshooting:
- Check to have installed Android SDK and have put the directory of the SDK platform tools inside the PATH environment variable;
- Install Oculus ADB drivers. Things are working fine for me even without them, but Oculus suggests to install them;
- Check if the cable is connected correctly;
- Check if you have granted all authorizations inside pop-ups that appeared on the device;
- Disconnect and re-connect the USB cable and accept all the authorizations inside the headset again. You have to see at one point a dialog asking you to authorize a device with a certain fingerprint to do USB debugging. When you accept this dialog, make sure to select to always accept that computer and you are ok forever. If you don’t see this dialog, you will always see your device as unauthorized.
Now you have just to install Unity (Oculus recommends version 2017.4.1): you can access the various Unity versions from here. When installing Unity, at a certain point the program will ask you what features to install: make sure to install the Android platform support.
The last thing you have to download is the Oculus Utilities for Unity: you can find it inside Oculus downloads, exactly here. Save the Unity package somewhere in the disk.
Ok, we’re ready to develop now!
Oculus osig file?
If you’re already a Gear VR developer, you may remember that to push your app on the Gear VR you needed an annoying thing called Oculus Osig file, that you had to insert inside your Unity solution. With Oculus Go, this is no more needed (YEEEEEEEESSSS!), so you don’t have to worry about this.
Your first Oculus build
Ok, now we’ll make the first build on the Oculus Go.
Open Unity and create a new 3D project, giving it whatever name you do want. Select Assets -> Import Package -> Custom Package… and open the Oculus Utilities file that you saved some instants ago. Import everything and let Unity do its stuff.
Go in the Project window of Unity (the one that seems a file manager) and select the directory Assets\Oculus\VR\Scenes. Double click on the Cubes file to open the standard scene full of cubes. This is the sample scene that we’ll build in this tutorial.
Now go to File -> Build Settings. Select:
- Add Open Scenes, to add the current scene to the build;
- Select Android platform. Then click on Switch Platform to let Unity switch to Android mode;
- Build System – Internal, because I had problems using Gradle.

After that, select “Player Settings…” and look at the tab that opens on the right part of the screen. There, you should:
- Change company name and product name to whatever you want;
- Other Settings -> Package Name: set a package name as you prefer;
- Minimum API Level: whatever value >=19 is ok. If you don’t have the SDK that you selected, Unity may ask you to install it;
- XR Settings (SUPER IMPORTANT):
Ok, we’re almost done… return to the Build Settings window. Click on Build And Run. Select where Unity has to save the generated APK… and then let the magic happen! Unity will make some work and then will launch the app directly on the Go! Wear your device and enjoy your cubes…
Wow, you’ve built your first sample app… now you’re ready to develop your own Go games. I’ve just made a porting of our Hit Motion full body game that uses ImmotionRoom system… who has said that Go is for seated experiences? 😉
Happy coding! (And please subscribe to my newsletter to sustain my efforts in writing cool VR articles! 😉 )
UPDATE: On Twitter, P. Patterson Nowist kindly suggested some settings to improve the resulting application:
- Enable “Single Pass Rendering” (Player Settings -> XR Settings -> Stereo Rendering Mode -> Single Pass) to improve performances;
- Enable Anti-aliasing in the Quality settings (Edit -> Project Settings -> Quality -> select Medium profile -> Antialising -> 2x) to make things appear better.
Disclaimer: this blog contains advertisement and affiliate links to sustain itself. If you click on an affiliate link, I'll be very happy because I'll earn a small commission on your purchase. You can find my boring full disclosure here.


This all worked like a charm. Thanks for taking the time to put all of this together; you’ve surely saved me a lot of headaches.
You’re welcome! I’m happy that I’ve helped you and your head 🙂
Super useful! Thanks for putting all this information together in one place.
Thanks to you for having read this 🙂
Wow, I didn’t know that! It’s actually a great advice! Thank you
I get this error when I try to build it “Please make sure the Android SDK is installed and is properly configured in the Editor.” Is it because I installed the Android SDK wrong?
I had to install the Android SDK, then the JDK and then create ANDROID_HOME and JAVA_HOME environment variables manually. Not overly intuitive…
Thanks 🙂 I just got it right a couple hours ago, I hadn’t created the environment variables haha
I’m happy you solved it. Thanks @marcandrmongeon:disqus for the help you provided!
Very useful, I was starting to get frustrated setting things up, but this page solved my issues. All in all, not too bad, received my Oculus Go today and was able to deploy my first “Hello World app” to the headset the same day!
WOOOOW! Glad it helped you! Happy coding
Thanks for this! One question: is it possible to simulate the Oculus Go’s motion controller in Unity? I find the write-deploy-test process takes too long..
I found this:
https://developer.oculus.com/blog/simulating-a-gear-vr-controller-with-touch/
on the Oculus site, for simulating the Gear VR controller but I’m not sure if it would apply. Or how to pair the Oculus Rift’s touch controller to my dev PC either.
If you have a Rift, you could use that package and then try to remap the keys of GearVR to the ones of Oculus Go. https://developer.oculus.com/documentation/unity/latest/concepts/unity-ovrinput/#unity-ovrinput
It shouldn’t be that difficult.
You can’t pair the controller with your PC.
Another approach would be developing something similar to what I did for the Vive Focus https://skarredghost.com/2018/05/11/experimenting-with-unity-instant-remote-preview-on-the-vive-focus/
Have a look here: https://developer.oculus.com/documentation/unity/latest/concepts/unity-ovrinput/#unity-ovrinput
I got it to work, but I cannot get rid of the Jagged edges. Anti Aliasing doesn’t seem to be working even though I’ve set my quality to x2
I think that the grid of the LCD display of the Go doesn’t help with this
I’m glad I found this post, really helpful! Unfortunately, I use an old macbook to develop and it doesn’t seem to work. Any ideas on how I could make it work for OS X?
Many thanks
Uhm, the tools should be the same: Unity, Oculus SDK, build for Android. What doesn’t work?
Thanks for the guide. This is really help me. One quick question. Can we run the scene directly on the Oculus Go? Without deploy it first. Thanks
Not at the moment. With Daydream devices this is possible and with the Vive Focus will be possible in the following months (or you can use the prototype made by me), so I guess that in the future Oculus will implement that feature as well. But for now, you have to deploy… or to use a Rift connected to a PC to try things in a faster way.
You’re welcome!
great article!! wish i would have had this when i wrote my first oculus go app a while back..would have saved alot of time! have you had a chance to try out the oculus social features for the go? if yes, did you notice any configuration changes required for the Go as opposed to the Gear?
No, I haven’t tried them. What I know is that all that stuff is identical on the Go and the Gear VR, but I have not practical experience with it.