How to get started with nReal glasses development in Unity
The
If you are a developer like me, and you are intrigued by these devices like me, you may ask yourself questions like: “How can I develop for the nReal glasses?“, “Is it already possible to develop for them?”, “Where do I find the SDK?”, “Is there an emulator?“.
Luckily for you, there is your favorite ghost that can help you. In this article, you may find the answers to all the above questions: I will guide you in developing a little Unity experience for the
How to get started with nReal development (and emulator) in Unity (Video tutorial)
I have shot a long video that shows you:
- How to install the pre-requisites for developing for
nReal glasses; - How to download the SDK and import it in Unity;
- What is the current status of the SDK (a little review about it);
- How to configure Unity to build
nReal glasses; - How to create your first Hello World application;
- What is the
nReal “emulator” and how to useit.
It’s a lot of topics: all you need to know to get started with nReal development in Unity… and you can find them in only one video, that you can watch here below!
How to get started with nReal development (and emulator) in Unity (Textual tutorial)
Of course, being a guy that loves reading and writing stuff, I can’t avoid providing also a textual version of the above tutorial. So, if you don’t like videos, you can continue reading and I will provide you more or less the same info, but in written form.
Pre-requisites installation
To be able to develop for nReal glasses, you must have this software installed on your system:
- Unity (at least version 2018.2);
- Android SDK (at least version 7.0).
And then of course you have to download the nReal Unity SDK.
Let me show you briefly how to download and install all of this stuff.
Unity
If you have not installed Unity, yet, get it directly on Unity website. If you are experimenting on your own, select that you want to try the personal edition, that you can use for free forever until you (or your company) make more than 100K every year.
Personally, I’m still using Unity 2018.3.6f1, because it is the one that I’m using for other projects that I’m developing for my consultancy company (contact us if you need an AR/VR solution!), but actually, nReal advises to have Unity 2018.2.x. I think that if you do download the latest version, that is the 2019.2, you should have no problems as well. In any case, you can download the specific version of Unity that you want directly from the Unity Hub or from this page.
When installing Unity make sure that you install the Android Build Support.

As Ivan Berg had made me notice, you can install the Android SDK that is also required to develop for
Android SDK
The easiest way to install the Android SDK is by downloading and installing Android Studio. Android Studio is Google’s IDE to create Android applications, and by installing it, you also download and install all the tools that are required for Android development.
I won’t go too much into details about that here, because it would require a separate guide only for that. Anyway, the most important thing to do is installing Android Studio downloading it from its website. After you will have installed it, you must use its IDE to install the required Android SDK, that in this case is
I suggest installing Android 4.4 (SDK API level 19) and Android 7.0 (SDK API level 24). Install also the various SDK Tools and Platform Tools. After that, put the directory <Android_sdk_install_dir>\platform-tools inside the PATH environment variable, because this may help you if, when you get the
If you want some help for all this process, have a read to this tutorial.
nReal SDK
You can download the nReal SDK directly at this page.

Before downloading it, you must sign up by clicking on the button on the upper right corner of the webpage. You will have to provide your name, e-mail and answer to some profiling questions. After you have signed up, ignore the “My Project” page that you will find (it is useful to submit projects to
You will download a ZIP file. Unzip it, and you will find a Unity Package file, that represents the actual SDK that we are going to use inside Unity.
Let’s import the SDK!
It’s time to start Unity.
At Unity startup, select that you want to create a new project (there is a button with written “New” and the icon of a white sheet of a paper with a “+” inside) and call it as you wish, for instance, “nRealMagicTest”. It must be a 3D project (it should be the default option already).
As the folder, pick the one that you prefer on your drive. Keep in mind that Unity will create in this folder a subfolder with the name of the project that will contain all the elements of the project itself.
When you’re ready, hit “Create Project”.
When the Unity interface pops up, we have to import the
At this point, after some resources compiling, you will find all the content of the
My impressions on it
After having examined the SDK and having given it a try, my first impressions are mixed.
At a high level, the SDK is very well organized, with all the various elements tidily divided
But at the same time, it has also various bugs: as I show in the video, there are lots of things that are misspelled: “Debuger” instead of “Debugger”, “UNITY_DEITOR” instead of “UNITY_EDITOR”, etc… There are strangely two different namespaces for the various scripts… and one script also still reports a copyright by Google (??). Some comments are in Doxygen format, that no one uses in C#. The test script for positioning stuff on the image markers is bugged. Then, the starting comment of every file is worth a mention:

“NRSDK is distributed in the hope that it will be
The SDK is still a beta, so
Let’s make our first nReal app
It’s time to make our first app!
- You should be in the “SampleScene” that Unity has created for you;
- Delete the “Main Camera” from your scene, by clicking on it and pressing the CANC key;
- In the Project window, go to Assets\NRSDK\Prefabs and drag into the scene the NRCameraRig prefab. This will handle the AR camera of the
nReal glasses; - Drag into the scene also the NRInput prefab, that will handle the input from the device;
- Now go to Assets\NRSDK\Emulator\Prefabs and drag into the scene the NRTrackableImageTarget prefab. This prefab lets you put augmented reality elements on an image marker (what you usually do with Vuforia);
- If you want, select the NRTrackableImageTarget element in the scene and look in the inspector for the script NR Trackable Image Behaviour. Inside it, there is a drop-down called “Image Target” in which you can choose what is the image that you want to track.
nReal provides you 3 standard ones: you can also add yours, but this is not part of this tutorial; - Change the position of the NRTrackableImageTarget element. In the Transform
behaviour , set the position to X: 0, Y: 0, Z: 2; - In the Hierarchy window, use the
right click of the mouse, then select Create -> 3D Object -> Cube; - Select the just created Cube and in the Inspector, change its scale to X: 0.25, Y: 0.25, Z: 0.25 to make it a bit smaller;
- Create a new empty
gameobject : Create -> Create Empty; - In the Inspector, hit “Add Component” and in the search text box write “Test”, then select TrackableFoundTest from the found scripts. The TrackableTest is a sample script provided by
nReal (not something to use as-is in production!) that puts a 3D object onto an image marker, and that shows the 3D object only when the marker is visible. This is exactly what we want from marker-based AR; - We must tell TrackableTest what is the Image marker and what is the 3D object to show on it. Drag the Cube object created before onto the “Obj” propert of the TrackableTest. Then drag the “NRTrackableImageTarget ” we created before onto the “Observer” property.
At this point, we are done! Or well… we should be. Actually, the provided TrackableTest script is bugged (at least when working in the editor). So, double click on it and substitute all its code with this one:
Notice that the “+ new Vector3(0, +0.125f, 0);” has been added to make our Cube, that is tall 0.25, to sit perfectly on the marker. This code I provide you is just a quick test, it’s not a definitive solution that you can use for all your AR applications.
In the Update method of the code I provided you above (lines 20-21), I have also added two lines that make the cube change color whenever the user presses the
At this point, we have made an application that shows a cube on an image in augmented reality… it’s time to test it!
Finishing configuring Unity
Before doing our tests, we have to configure Unity properly to build for nReal:
- In the menu select File -> Build Settings…;
- In the build settings window, in the Scenes In Build upper part, select the “Deleted” entry, if any, and hit Canc on your keyboard to remove it;
- Click the Add Open Scenes button to add your just created amazing cube scene to the build of your project;
- In the Platform tab, select Android and then hit Switch Platform. This will take a while;
- When Unity will have finished, click on the “Player Settings…” button in the
lower left corner of the window. This will open the Player Settings in the Inspector of the main Unity window (so on the right); - Change the Company Name and the Product Name as you wish in the upper part of the Player Settings;
- Scroll down and unfold the “Resolution and Presentation” section;
- Set Orientation -> Default Orientation to “Landscape Left” when using
an Light computing unit, “Portrait” when using a smartphone. If you have no device, select Landscape Left;Nreal - Scroll down and unfold the “Other Settings” section;
- In the Identification part, change the Package Name so that it is coherent with your organization (e.g. call it com.yourcompanyname.nRealMagicTest);
- Always in the Identification part, change the Minimum API Level to 4.4 KitKat and the Target API level to 7.0 Nougat;
- In the Rendering part, disable Multithreaded rendering;
- In the Configuration part, set Write Permissions to “External (SDCard)”;
- Now in the Unity menu, select Edit -> Project Settings… -> Quality and in the window that will pop up, go towards the ends of the settings and set V Sync Count to Don’t Sync.

Ok, now our project is ready to build! In the Build Settings Window, you can hit “Build and Run” and try our magical cube on the nReal device!
nReal “Emulator”
Since no one of us actually has a nReal device at the time of writing… how do w test our fantastic cube application? We use the “emulator”, that lets you simulate the movement of the head of the user and the input on the controller from within Unity, so that you can actually test your application without having the device and without leaving Unity!
This means that you can just hit the “Play” button in Unity (the one in the upper part of the Unity window), and then test your application directly in the “Game” window. After you have hitten “Play”, you can:
- Use WASD to simulate the movement of the head of the user;
- Use SPACE+mouse movement to simulate the rotation of the head of the user;
- Use SHIFT+mouse movement to simulate the rotation of the nReal controller (remember that the nReal controller is a 3DOF one);
- Click the left mouse button to simulate the clicking of the Trigger of the controller;
- Click the right mouse button to simulate the pressure of the Home Button of the controller;
- Click the mousewheel button to simulate the pressure of the App Button of the controller;
- Use Arrow Keys to simulate swiping on the touchpad of the controller.
My opinion on the “emulator”
Anyway, I have some critics on this as well:

- The name is misleading: it is not an emulator, that’s why I keep writing it inside quotes. It is something that helps you in developing, but a true emulator would be an Android virtual machine that can simulate the operating system of the device and where you can also simulate the behavior of the device inside various rooms. All the most popular AR glasses (HoloLens and Magic Leap One) have an emulator of this
kind, because it is necessary to actually test the application. Testing inside Unity doesn’t give you real feedback on what happens when you build the application (when for instance the UNITY_EDITOR parts don’t get compiled); - The choice of the keys is different from all the other emulations inside Unity (e.g. the one of the Vive Focus Plus, the one of HoloLens, etc…). I hope for some kind of standardization for the future.
Testing time!
Ok, the time to speak is over… it’s now time to test our application!
Press the Play button in Unity and then use the “emulator” to move your camera until you frame the image target… you should see the cube appear on it! If you make the image disappear from the field of view of the glass, the cube should disappear! And pressing the controller Trigger button, the cube will change color… isn’t it the best AR application ever?
Additional References
Some additional references if you want to dig into development for nReal glasses:
- Android Quickstart Guide: https://developer.nreal.ai/develop/unity/android-quickstart
nReal Emulator docs: https://developer.nreal.ai/develop/unity/emulator- Introduction to the
NRSDK : https://developer.nreal.ai/develop/discover/introduction-nrsdk - My friend Nikk Mitchell’s tutorial on developing a Unity application on a real
nReal device: https://www.youtube.com/watch?v=aFQgfQoh8T4 - You can also have a look at the sample scenes in the Assets\NRSDK\Demos folder of the plugin. Looking at the demos, you can learn new things about development for this device.
If you want to join nReal communities:
- Reddit: http://reddit.com/r/nreal
- Slack: http://nreal-dev.slack.com
- Discord: http://discordapp.com/invite/7kemw5
And now…
… it’s time for you to create some amazing application for the nReal glasses! Have fun developing… and let me know what you are going to create 😉
I hope you have enjoyed this long tutorial and that it has been useful for you. If it has been so, you can consider making me happy by registering to my newsletter or donating to my Patreon… this way I can continue creating useful content on immersive realities! 😉
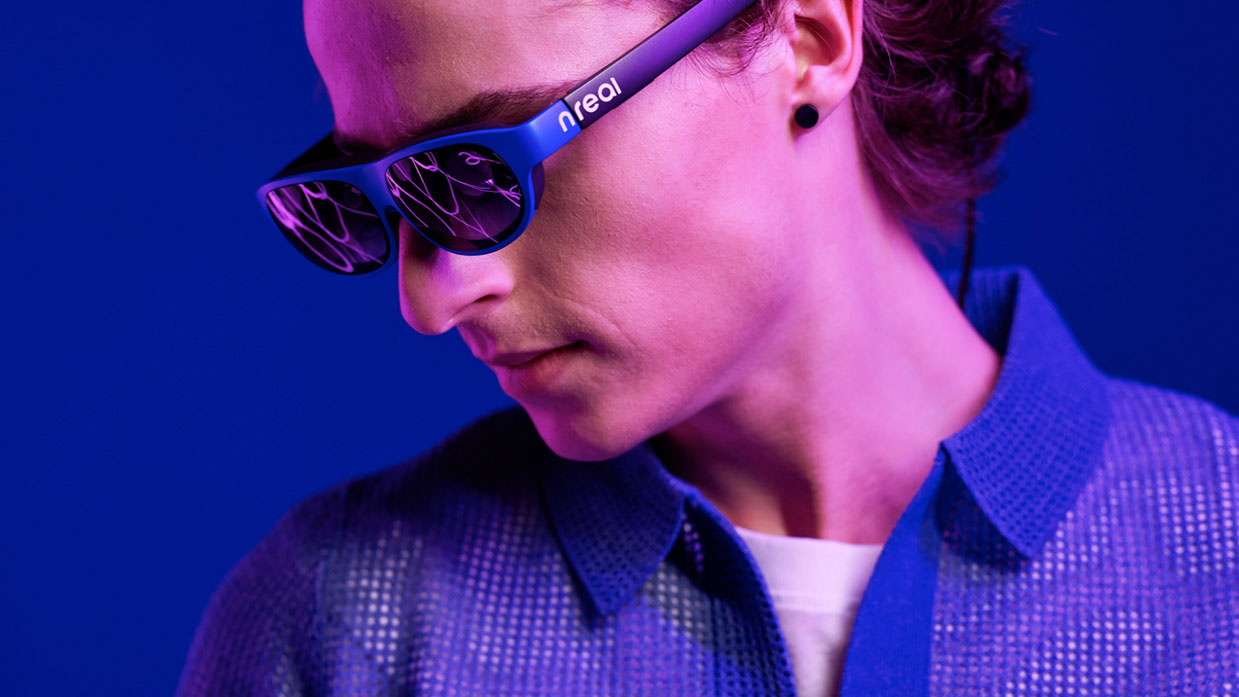
(Header image by nReal)
Disclaimer: this blog contains advertisement and affiliate links to sustain itself. If you click on an affiliate link, I'll be very happy because I'll earn a small commission on your purchase. You can find my boring full disclosure here.


