How to setup Oculus Link and solve some of its common problems
These days, I am experimenting a lot with Oculus Quest because of its new amazing features. One of these is the Oculus Link, that lets you connect your Quest to your PC and use it as a PC VR headset. In my review, I highlighted how I liked it, even if it needs some improvements, especially because I had some problems in setting it up. In this post, I want to show you how to use the Link, and how to solve some common problems that may arise if it doesn’t work. Are you interested?
Oculus Link Setup
Oculus Link setup is actually a non-setup, since it is incredibly easy to be done. You have just to:
- Turn on your Quest and your PC. Be sure that on PC the Oculus app is running;
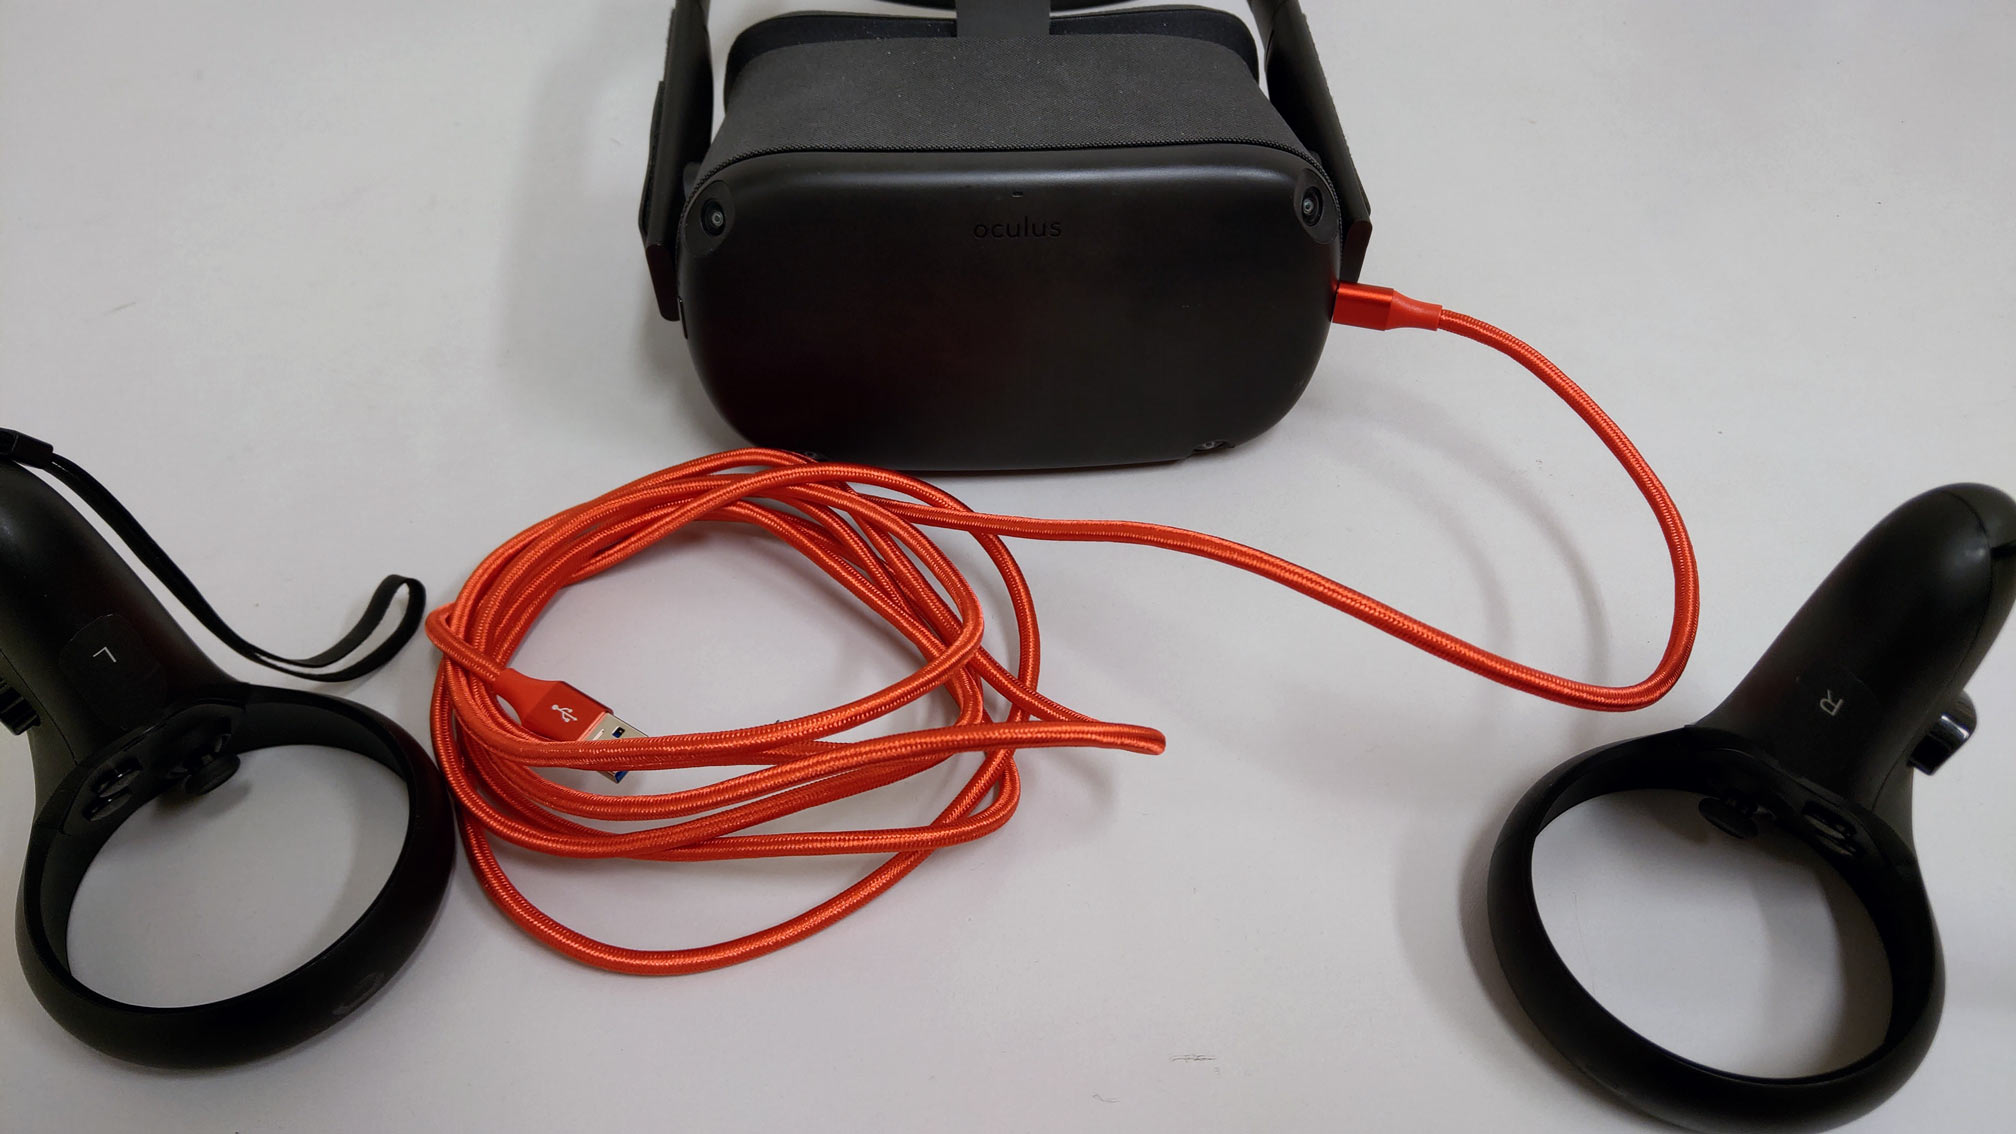
- Connect your Quest to your PC using a suitable cable, that must end with a USB C on the Quest side and a USB C or USB A on the PC side, depending on the port you think plugging it in;
- Look inside the Quest and see that a popup is asking you to activate Oculus Link. Click “Activate” and you are done;
- Enjoy your new shiny PC VR headset!
That’s incredibly easy, but something may not work as intended. If things do not work, you may see the Quest just showing the Quest interface and keep working as a standalone, or you may see 3 dots blinking. Let me analyze with you some possible things to do to solve some common Oculus Link problems.
Reboot everything
Ok, this is an old classic: if something doesn’t work, you can try rebooting as the first possible solution. Sometimes this has solved the issue for me. I rebooted both the headset and the PC, and then the miracle happened. Oculus Link is in Beta, so some glitches are normal at this stage. A well-timed reboot can solve everything in some contexts.
Update everything
Do you want to hear another old-time classic? Update everything, and with everything I mean specifically:
- The Oculus Quest runtime (you can follow this tutorial of mine on the topic);
- The Oculus runtime on PC;
- The drivers of the graphics card;
- The drivers of your USB controllers (and all the ones of the motherboard, if you wish).
Before that Link worked for me the first time, I had to update everything. So I advise you to do the same. In every case, this is a good thing for your PC.
Be careful of the Oculus Link requirements
Oculus Link doesn’t work with all PCs, and specifically, it doesn’t work with all graphics cards. So before getting mad rebooting your PC a thousand times, please check this official guide highlighting the Link requirements
The page that I linked gets continuously updated by Oculus, so the best thing that you can do it is directly checking it. Anyway, for the lazy people among you, I’ll report here some data that are valid at the current time of writing.
Recommended specifications:
| Processor | Intel i5-4590 / AMD Ryzen 5 1500X or greater |
| Graphics Card | See GPU tables below |
| Memory | 8 GB+ RAM |
| Operating System | Windows 10 |
| USB Ports | 1x USB 3.0 ports |
Supported graphics cards:
| NVIDIA GPU | Supported | Not Currently Supported |
| NVIDIA Titan Z | X | |
| NVIDIA Titan X | X | |
| NVIDIA GeForce GTX 970 | X | |
| Desktop NVIDIA GeForce GTX 1060 | X | |
| NVIDIA GeForce GTX 1060M | X | |
| NVIDIA GeForce GTX 1070(all) | X | |
| NVIDIA GeForce GTX 1080(all) | X | |
| NVIDIA GeForce GTX 16-series(all) | X | |
| NVIDIA GeForce RTX 20-series (all) | X |
| AMD GPU | Supported | Not Currently Supported |
| AMD 200 Series | X | |
| AMD 300 Series | X | |
| AMD 400 Series | X | |
| AMD 500 Series | X | |
| AMD 5000 Series | X | |
| AMD Vega Series | X |
If your PC doesn’t meet the above specifications, Oculus can’t guarantee the compatibility, meaning that Link may work or may not. If it doesn’t work, you are out of luck, unless some future updates change the above conditions. Oculus is adding compatibility with always more GPUs, so always more people will be able to use the Link.
Use the right cable and extender
Not all cables work with Oculus Link: for instance, the cable provided in the box together with the Quest is not suitable to connect the Quest to PC (a quite absurd choice in my opinion).
You understand immediately if a cable is not suitable because the Oculus Desktop App signals that the Quest is not connected to USB even if you have correctly attached it to a USB 3.0 port.

If this is the case, try different cables until you find one that works. Some suggestions are:
- The official Oculus cable that you can find on Oculus website for $79. This offers the best image quality, cable length, latency and comfort possible, since it has been specifically designed for this purpose. It also charges your headset while you use it attached to the PC;
- The Anker cable that Oculus advised before launching the official cable (even if it is quite short and it may be out of stock on Amazon);
- This cable suggested by Upload VR (that you can pair with this extender, always suggested by Upload);
- The Amazon Basics 3m cable. While not offering top-notch quality and not charging your Quest while you use it, it works and it is very cheap. I bought this one, and it works fairly well;
- This cable available on Taobao, if you are in China (thanks Mike Hall for the suggestion).
Remember that you have to use a USB 3 cable that must be able to transfer data and must end with an USB-C port. Be sure to use the right cable, or the Link experience will be disappointing… or you may not even be able to try it at all.

Use the right USB port
Don’t forget to use a USB 3.0 (or superior) port. USB 2 won’t just work.
It may happen that when you use the Oculus Link, the results are disappointing because you have terrible image quality or very slow streaming. In this case, the first thing that you can do is changing the USB port, trying ports associated with different USB controllers.
I tried at first to connect my Link to the front ports of my desktop, and I had a terrible streaming quality: the Quest was just unusable. So I tried connecting the cable to the rear port of my PC and everything was suddenly clear and fast. This taught me that the difference in using different ports may be like night and day.
Use the right Quest runtime associated with the Oculus PC Runtime
Do you remember when I told you to update everything? Well, there is an additional factor that you have to consider if the Oculus Quest doesn’t want to connect with your PC, and it is the subscription to the PTC (Public Test Channel). Oculus has decided to make things very confused regarding to this.
Depending on the actual runtime you have on your Oculus Quest, you may have to join the PTC on your PC or not. Before I installed the v12 runtime on my Quest, I had to opt out the Public Test Channel on my PC, or there was no way of using Oculus Link. But with the runtime before that one, you had to join PTC to be part of Oculus Link. If you are thinking that this is super-messy, well, I am with you.
Oculus describes the current situation with this statement, that helps a bit in clarifying how things work now:
In order to use Oculus Link, your PC software and Quest software must have matching version numbers. During this rollout, you may receive the v12 update on your Quest before you receive the PC v12 update, or vice versa. If you receive the PC v12 update before the Quest v12 update, you will need to wait until you receive the Quest v12 update before Oculus Link will work again. However, if you receive the Quest update first and are anxious to use Oculus Link again, you are welcome to opt into the PTC on PC to get to v12 more quickly. Please note that when v13 PTC rolls out, you will need to opt back out of the PTC and to stay on v12 and retain compatibility. The team is working hard to improve this experience so that this will not be an issue during future rollouts. We greatly appreciate your patience and understanding!
Oculus
Basically, try opting in and out of PTC and see if things work some way.
Usually, you realize that this is the problem because your Oculus Desktop App shows a red hello bar saying that the Oculus Runtime or the Oculus Quest has to be updated, but actually there are no more updates available nor on the device neither on PC. This is a clear sign that you must change your current subscription to PTC (opt-in if you were outside of it and viceversa) to make things work.
To opt-out or opt-in PTC, you have to open your Oculus Desktop app, select Settings, then open the Beta tab and change the switch associated with Public Test Channel.

Be careful that if you change your PTC subscription status, you have to make Oculus software update itself to the latest version before using the Link. After I opted-out PTC, I restarted the Oculus Desktop application, that only at that point asked me to update, and after the update, the runtime correctly connected to Link.
Manually connect the Link, if the popup doesn’t get shown
If for some reasons the popup on the Quest doesn’t get shown, you may activate Link manually in three possible ways:
- Unplug and re-attach the USB cable, hoping that this time the popup appears;
- Go to the Device tab on the Desktop app, select the Quest, and then hit on Device Setup;

- Inside the Quest, go to Settings->Show All, select Device tab and then activate Oculus Link Beta.

Play with audio settings if audio doesn’t work
My first tests with Oculus Link revealed a very nice image, but no sound. And that was weird, considering that the audio settings were all set in the correct way.
I solved this issue thanks to a post on Reddit, and the solution was actually playing around with audio settings. I had to select on my PC not to use the Oculus Virtual Audio Device, but actually my standard Realtek adapter output. This was counter-intuitive, but it worked, and I managed to get audio on my Quest.

Increase resolution on your Quest
If you think that the resolution on your Quest is not satisfactory enough, there is a way to increase it a bit. The trick is playing with the Oculus Debug Tool and change some settings until you obtain optimal results. Oculus’s Volga Aksoy has published a great guide in this sense and you can find it here.
I hope this guide has been useful for you, and if it is the case please share it on your social media channels using the buttons below to help other Oculus Quest users!
Disclaimer: this blog contains advertisement and affiliate links to sustain itself. If you click on an affiliate link, I'll be very happy because I'll earn a small commission on your purchase. You can find my boring full disclosure here.


