How to record videos of your Oculus Quest passthrough AR app
Recently Facebook has released experimental passthrough APIs for Oculus Quest 2, letting developers create augmented reality apps for this virtual reality headset. Many developers have started creating experiences of this kind, and of course, they want to share videos about them on social media, but Facebook blocked some months ago all ways of recording passthrough vision. So how is it possible to do videos about them? It is very easy… let me tell you the whole story.
(If you’re not interested in the whole story but just need the how-to, skip to the third paragraph directly)
Facebook blocking passthrough… maybe
Some months ago, I complained about Facebook blocking every possible way of recording passthrough vision of the Quest headset: if you try to record the content of your Quest Home environment with passthrough activated, you will see the black color instead of the passthrough images when recording through all the features offered by the Quest (take a photo, record video, casting, streaming, etc…) and an all-black video when you do a screen grabbing via the low-level tool ADB and all the programs that employ it (SideQuest, Strcpy, Vysor, etc…). I commented this choice being pretty absurd because ADB is a special high-privilege tool that must be run with your headset attached to the PC (with a tether or via Wi-fi), so it can’t be used to perform any kind of attack on the privacy of the user and Facebook should let people use it to record passthrough applications. I also predicted that when passthrough AR would have been distributed, this would have been a disaster because no one would have been able to record his/her own app and share it with the community, making it impossible for every dev to show its results and being of inspiration for other developers.
In fact, when the first passthrough AR app for Quest, Cactus Cowboy AR Passthrough Demo, has been released on SideQuest, Upload VR talked about it but wasn’t able to share any kind of footage about it. The same happened for the first tutorial on Passthrough AR APIs by Dilmer Valecillos, that had to make a video with Oculus MRC to showcase the result of the first app he built with these APIs. But later on, I started seeing some videos published with the AR footage of apps built on Quest, and I was pretty puzzled about how this could have happened. I remember trying all possible ways (and I mean, really EVERYTHING) to record my Passthrough Home some weeks ago and I found no way… so how could these devs record the footage of their AR apps so easily?
I so reached out to March Schramm, the developer behind Gravity Lab that had just shared a video of this kind, and asked him how he did it, what kind of sorcery he used to record that video because when Facebook blocked passthrough recording, I had tried every kind of possible solution to make it work. He just said that he used scrcpy, and that it worked very well for the purpose.
Scrcpy is the opensource tool (employing ADB) that is also used by SideQuest to mirror the content of your headset, and it is how I was used to recording the AR content on the Quest before Facebook’s block, and it stopped working properly after Facebook prevented users to record the passthrough. I tried it again soon after my conversation with Mark, and I verified that actually I was able to record an AR app on Quest very smoothly. The easiest solution, in the end, was the one actually working… but how could this be possible?
Facebook’s selective block

After having made different tests, I have understood that Facebook has slightly changed its passthrough recording block after it has released its passthrough APIs. Now what happens is that:
- If you try to record your Passthrough Home environment (or other kind of system screens employing AR) via Oculus-related tools (e.g. take picture, record video, casting, streaming), you clearly see the virtual elements, but all the areas with passthrough vision become black;
- If you try to record your Passthrough Home environment (or other kind of system screens employing AR) via ADB-related tools (e.g. scrcpy), you just see everything black. You don’t even see the virtual content, you just see all black;
- If you try to record an App using AR passthrough APIs via Oculus-related tools (e.g. take picture, record video, casting, streaming), you clearly see the virtual elements, but all the areas with passthrough vision become black;
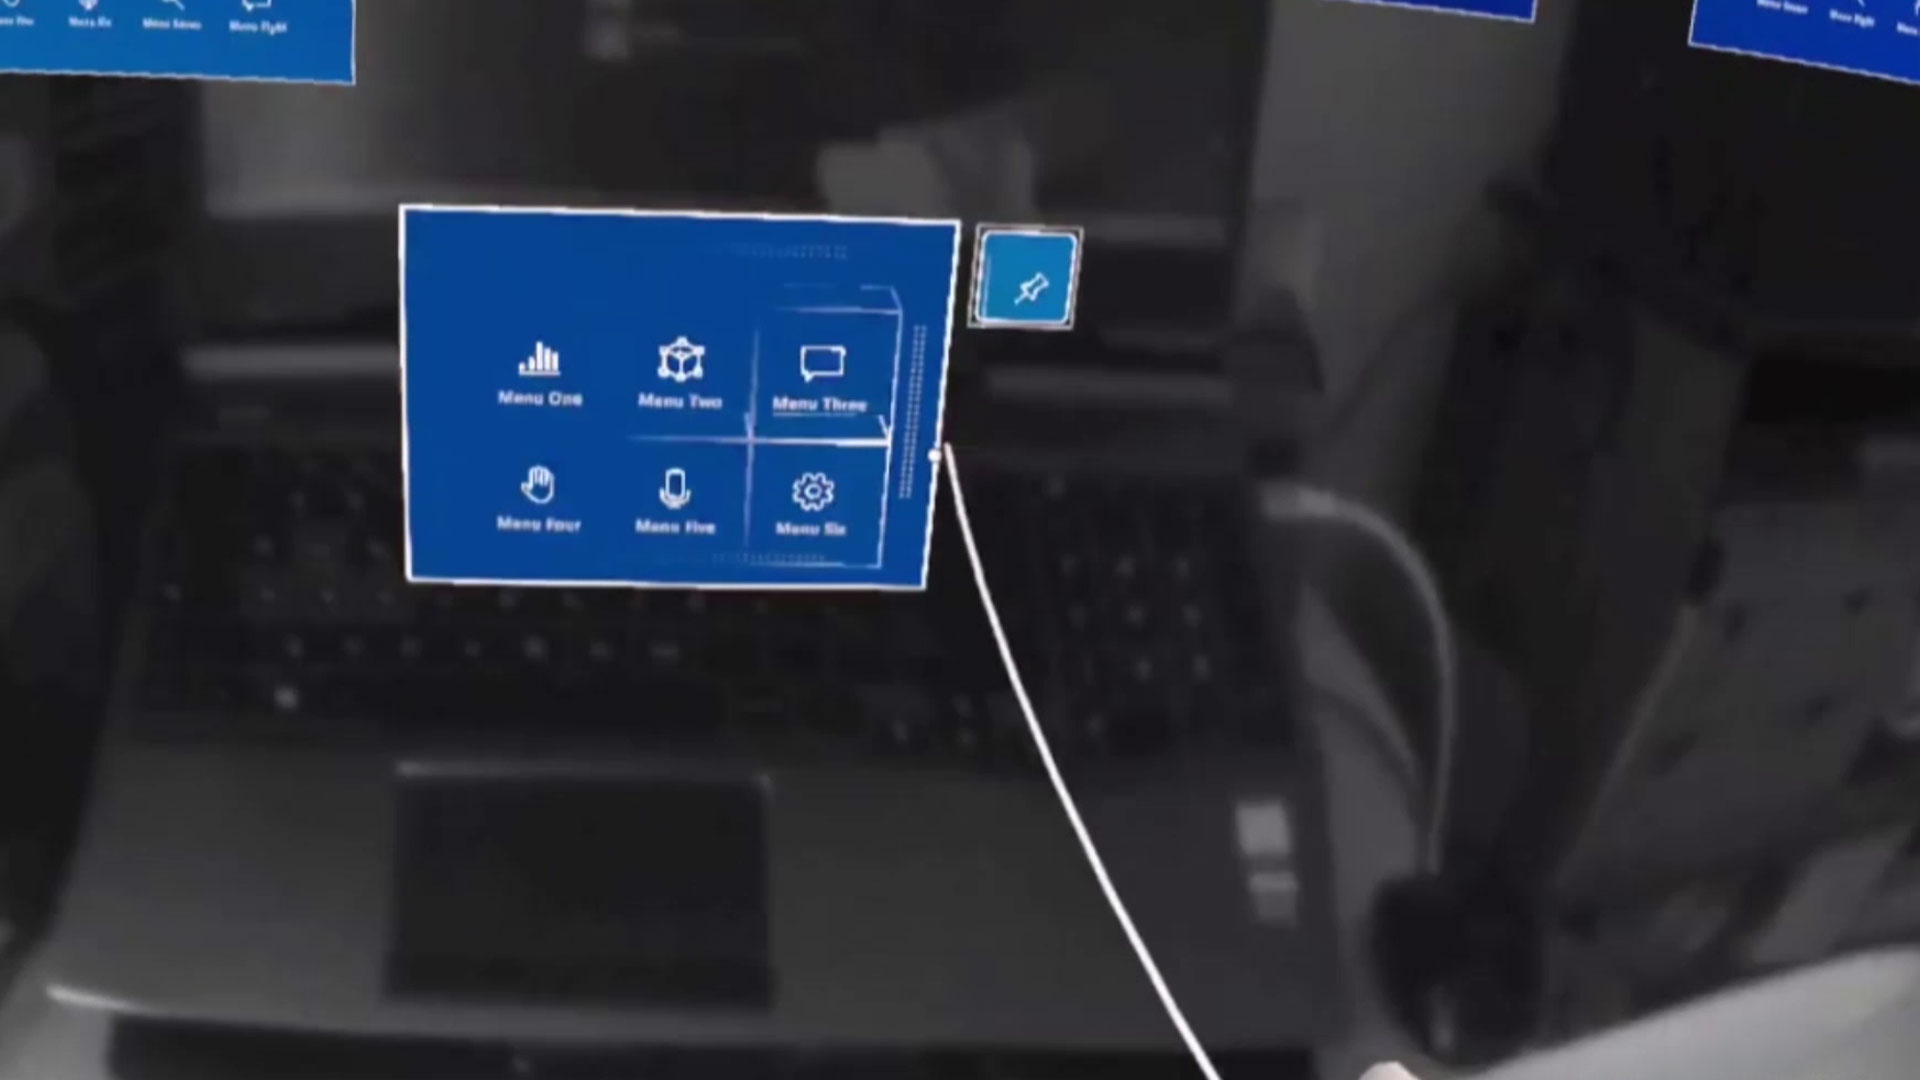
- If you try to record an App using AR passthrough APIs via ADB-related tools, you correctly see what is displayed to the user, that is virtual elements on top of real background. This also holds for apps with partial AR content, like Horizon Workrooms that lets you see your keyboard in AR.
Long story short: Facebook has unlocked the possibility of recording AR apps via ADB, but it is keeping it still locked for the system menus in AR. This means that all developers can record their apps easily using scrcpy or similar systems!
How to record footage of your AR app on Oculus Quest 2
We have just learned that we can use all tools based on ADB to record a video of the AR app we are running on your Oculus Quest. This means that we can directly use the command “adb screenrecord” to record a video file of what is displayed inside the headset or to stream it directly to your PC. To avoid being too nerdy in this article with command-line commands, I will just tell you how to perform the streaming using SideQuest (that I guess every one of us has installed), which internally uses scrcpy, which internally uses ADB (basically it is a matryoshka). This way in just two clicks you are all set, and don’t have to mess with a lot of command-line strings like all hackers in TV movies.
So to record the gameplay of an AR game on Quest you just have to:
- Install and configure SideQuest, if you haven’t already done it
- Connect your Oculus Quest device to your PC with an USB cable, but without activating Oculus Link
- Open SideQuest and wait for it to connect with the Quest
- If you want, click on the Wi-fi icon to make it connect via Wi-fi to the Quest, so that you be tetherless while recording the video. I would suggest to do it only if you have a fantastic Wi-fi connection, or the quality of the resulting video may degrade

- Click on the Streaming Icon of SideQuest in the menu that is in the upper right corner of your screen
- In the resulting popup, select “Quest 2 Crop” and then “Start Stream”
- At this point you should see a window on your screen showing the AR content of the headset

- Record the content of your screen using your favorite app: I would suggest you to use Open Broadcaster Software (OBS), or the Xbox Game Bar on Windows 10 (you trigger it by pressing Win + G)
And that’s it… easy peasy. I know, it’s a nuisance you can’t record everything directly from the device like you do for the VR apps, but this procedure is not that complicated, and you get soon used to perform it.
UPDATE (2021.09.06): Arnaud, the developer behind Crazy Kung Fu, made me notice that the videos made with this method lack the audio of the MR experience. Your options to record a video with the full audio are:
- Record the audio within a video recorded with the Record function of the headset and then use a video editing software (e.g. Adobe Premiere) to combine the audio of the video recorded this way with the visuals of the video recorded with OBS on your PC (This is the method that Arnaud usually employs)
- Use a 3.5mm jack to connect the audio output of your Quest to the audio (mic) input of your PC, so that you record a video with the full audio.
Alternative methods
What if the above method is not working or you want to record instead the Passthrough Home environment? Well, the other two possibilities that I have found are:
- Use your smartphone or a webcam to record the content of your headset. Be sure to set the exposure value of the camera properly so that to have the least horizontal bands possible. With this method the resulting video has usually some artifacts (moving horizontal bands, blurring, etc…), and especially since you have a camera inside your headset, you can’t actually use it, so it’s difficult to show AR interactions. This method is useful only if you want to make a little GIF about some kind of AR window, like for instance to make a short video of the Guardian setting stage
- Use a smartphone attached in front of your device and a computer to mix the recording of the smartphone and the headset, so that to obtain some kind of mixed reality video. The advantage of this method is that you can even record colored AR videos with the Quest, while the disadvantages are that it is a bit too hacky, and that it is not able to record properly the virtual elements that are black. The idea comes from Avi Barel, and you can find his great tutorial about it here.
To my knowledge, there are no alternative methods to record AR on the Quest… of course, if you know another one, let me know, and I will add it to this list to help other developers!
And that’s it with this tutorial… I hope it can be useful for you all XR content creators to share your creations with the rest of the world! If you liked it, can you please share it with your communities on social media so that it can reach other interested developers? Thank you!
Disclaimer: this blog contains advertisement and affiliate links to sustain itself. If you click on an affiliate link, I'll be very happy because I'll earn a small commission on your purchase. You can find my boring full disclosure here.


