Pico Neo 3 Pro with DisplayPort cable review: an amazing PCVR experience
I am still working on my full review of the Pico Neo 3 Pro, and while doing my tests on it, I have tried what is probably its most surprising feature, that is tethering to the DisplayPort port of a PC to offer a PCVR experience. Let me tell you everything about it because I think it’s super-interesting (and I don’t say this lightly).
Watch the video here below where I show you everything on this DisplayPort cable, from the unboxing to the setup, to the tests in SteamVR, or keep reading for the textual article!
DisplayPort connection
Facebook and HTC offer two standalone headsets (Oculus Quest 2 and Vive Focus 3) that have the possibility of working as PCVR devices when connected with a PC via a USB-A to USB-C cable. Pico has instead chosen to go for a different approach: using the DisplayPort of the PC and connecting the headset to the PC via a dedicated USB-C-to-DisplayPort cable. According to the company, this should make the headset exploit the full power of the graphics card, for unprecedented visual quality. This is what Pico states in its launch press release:
The Pico Neo 3 Pro and Neo 3 Pro Eye will also support NVIDIA’s Direct Mode as they are DisplayPort (DP) supported and equipped with DP connectors and cables, which provide native 4K@90Hz high bandwidth wired connection for Pico VR Streaming. When Pico HMD is connected to a PC via a DP cable, the Pico VR streaming assistant can work in Direct Mode, which is a high-performance, low-latency way to render PC VR content to Pico HMD display.
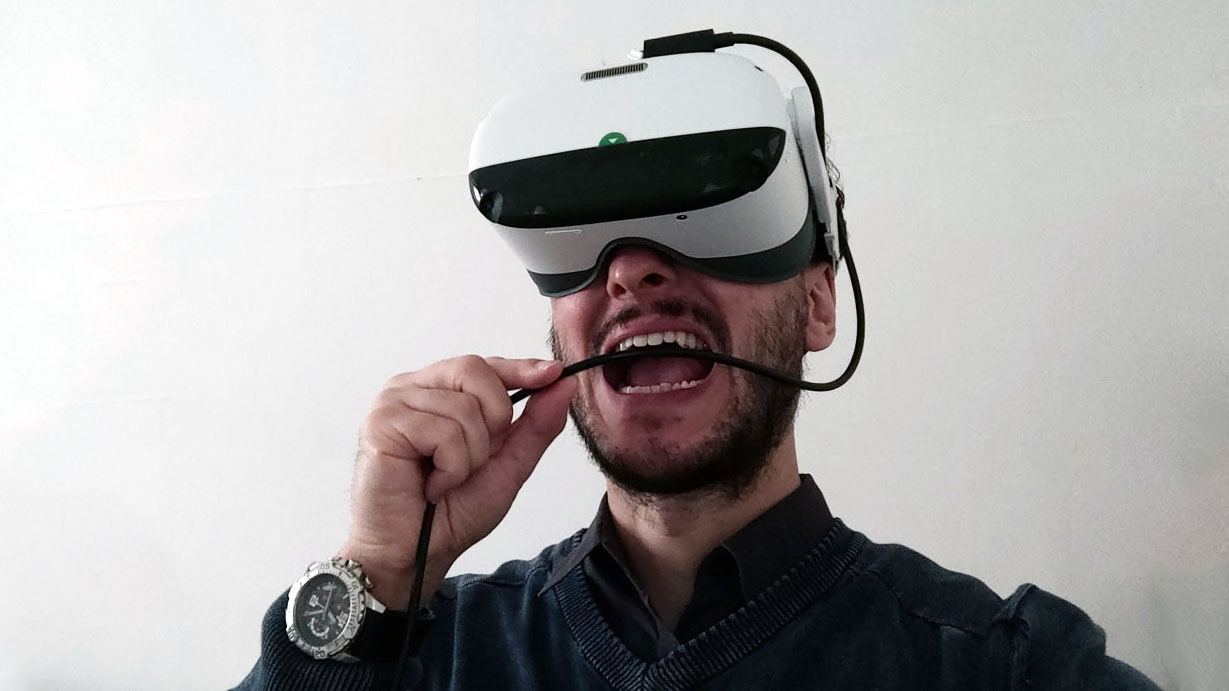
I was pretty curious to try this new innovative solution, so I contacted Pico and asked it a cable to review, and Pico representatives kindly sent me one. Here below you have my impression while using it.
Unboxing

The cable comes in an elegant white box. Once you open it, you just find an instruction manual, a big long 5m cable, and a little screwdriver. The packaging is tidy and elegant.
Setup
The setup of the tethered streaming is pretty straightforward.
On the hardware part, you have to:
- Uncover the special USB-C port on the device, lifting the little lid with the “D” letter on top of it

- Plug the USB-C end of the cable into the headset
- Use the little screwdriver provided in the box to screw the USB-C port onto the device. The headset comes with a little hole where you can put the screw, so that you are sure that the USB-C plug doesn’t detach during usage

- Attach the cable clip to the lateral headband of the device, so that the cable doesn’t go all over your hair, but stays gracefully on the side of the headset
- Plug the DisplayPort and USB-A plugs into the dedicated ports of your PC
- Turn on your PC and your headset, of course 🙂
On the cable splitter of the cable, there is also an additional plug for a power adapter (not supplied in the box) that can be attached so that it charges the headset while you use it, to allow long VR sessions.
On the software part, you have to:
- Download the special Pico DP Assistant on Pico website
- Install Pico DP Assistant and launch it
- Verify that you have a green mark next to the USB Cable and Display Port checks
- Launch SteamVR. Notice that until you launch SteamVR, you will see everything black inside the headset
- Check that SteamVR is working with the appropriate “piconeo3” driver. If this driver has not been loaded, wait a bit and then reboot SteamVR (Usually it is SteamVR itself that asks you to reboot to properly load the piconeo3 driver)
- Perform SteamVR Room Setup
- Enjoy VR!
As you can see, it is dead simple! Just a few minutes and you have a brand new PCVR headset! Just be careful to follow all the above procedure: if the SteamVR driver for Pico Neo 3 is not loaded correctly, the headset is not going to work properly.
Hands-on impressions

As soon as I wore Pico Neo 3 with DisplayPort cable attached and SteamVR Home environment loaded, I went in awe. I could see all the SteamVR environment with astonishing clarity. It reminded me a bit the moment I wore the Valve Index for the first time, and all VR environments seemed cooler than before. I was pleasantly surprised, and it is not easy to surprise me.
It’s not also easy to explain what was the sensation, but I would say that the visuals appeared as crisp and fluid as I haven’t seen them for a long time. Now I’m used to working mostly with Quest + Link, and I’m used to the slight lag and compression that Oculus runtime introduces with its USB streaming. Trying the same scene with Pico Neo 3 and its DisplayPort cable, everything looked much better, as this compression blurring and lag disappeared, and now I could see the whole scene on a 4K display with full clarity for the first time. It was much more realistic.
I thought it could just be an impression, so I spent the whole morning continuously switching between Quest 2 + Link and Pico Neo 3 + Display Port and trying to make through-the-lenses photos to see if this was a real thing. And after having tested so many times, I’m sure it is. It’s hard to identify where the clarity comes from, because Quest 2 makes an amazing job with USB streaming, especially after its last update, so the graphics are very similar to the one of a PCVR headset. But Pico, in all games I have tried, like Beat Saber, Steam VR Home, and Half-Life: Alyx, kept giving me the sensation that the images were crisper, and that they had a better quality in all my field of view. Quest performs a stronger compression on the parts of the image that go into the periphery of your vision to give you better clarity in the central region you are most probably looking at, while with Pico’s solution, it seemed to me that also the periphery of the vision was more realistic, probably because it is not compressed.
I tried to capture this with through-the-lenses images, but I’m terrible at making them, so I have not obtained good results. Probably someone better than me (Tyriell, are you reading me?) should do them to show you how everything feels crisper. Especially when you look in front of you, in the sweet spot of the lenses, you have a fantastic clarity, one that the Quest has never given me.

The system felt also reactive and fluid: I have been able to play Beat Saber as usual, with no problems in using the controllers (…but beware that I’m not an Expert+ player). For most applications, tracking worked really well. And SteamVR was already been able to show me the 3D model of Pico Controllers inside its applications!
The fact that the cable is screwed on the headset makes sure that it never detaches, and the 5m cable is long enough to let you enjoy VR applications without worrying about the cable. The cable is also pretty light, so it was not a big nuisance for my head, provided that it was able to fall to the floor. The cable management system with the clip that makes sure that the cable goes along the lateral headband was amazing for my comfort, and truly transformed the Pico Neo 3 into a PCVR headset. I have not had the possibility of using a power adapter to charge the device while using it, but I felt the idea very interesting for business scenarios where people have to use the headset for long periods.

Now that I’ve told you how I was amazed by it, it’s time to tell you some shortcomings of this solution. First of all, Pico Neo 3 Pro’s lenses suffer from pupil swim and you see the visuals distorting a bit while moving your head. They also have known problems of chromatic aberrations if you don’t look exactly in your sweet spot. All these problems are present of course also when you use the headset as a PCVR device, and hurt a bit your PCVR experience.
What actually was the worst thing was that the visuals felt overall a bit off, like if the world was smaller than it should have been. I don’t know how to describe it, it was again a sensation, but I could feel that what I was seeing had something wrong regarding its scale or distortion… a bit like when you saw the initial passthrough of the Quest and you could spot that you were seeing the world around you with a smaller scale. The effect with the Pico is not that big, but it is a slight sensation of the same kind. I guess it’s some kind of distortion given by the lenses. I hope that Pico releases a software update in the future to solve this issue.
The fact that you screw the cable to the headset is amazing for the stability of the solution (with Quest sometimes the cable detaches when I move the head in a certain way) but it is a nuisance if you want to use your headset both as a standalone and a PCVR device multiple times in a day: it means you have to screw and unscrew the cable multiple times. Oculus Quest is much easier to plug and unplug, and the fact that it requires you to use only one port (the USB) that all PC have (not all PCs have DisplayPort), makes it more suitable for a consumer market.
I have tried to attach the DisplayPort plug into the mini-DisplayPort port of my laptop through an adapter, but the DP Assistant did not recognize it, and while messing with the cables and the settings, my laptop even rebooted :O. Quest USB connection is still safer to use on all PCs, even if it has inferior quality.
Regarding the clip that makes the cable stay on the side of your head, I attached and detached it 3 times, and after that, it broke into two pieces. This is not what I expect from an accessory devoted to enterprise, that should so be super-resistant.

Wireless streaming
Pico Neo 3 also has a Wi-Fi streaming option that works exactly in the same way as the other standalone headsets. Its quality is not the same as the wired streaming, and it is even inferior to the one of Virtual Desktop on Quest 2.
Availability
I am asking the information on the price of this cable. You can purchase it by requesting it from your local Pico reseller or by contacting Pico through its website.
UPDATE (2021.10.11): The price of the cable is €55, but Pico can offer discounts if you buy it in bulk quantities.
Final opinion

I think Pico has made a smart move with this proposition of the DisplayPort cable because it offers the best wired streaming I have ever tried on a standalone headset. With it, the Pico Neo 3 Pro basically becomes a tethered headset, with amazing clarity and fluidity that are better than the ones of the competition. I was sincerely surprised by it.
It still comes with its problems, though: this solution needs an update by Pico to correct via software all the problems it currently has with its visual system, in particular chromatic aberration and lens distortions.
The fact that the cable must be screwed is a nice solution to offer more stability to the setup, but it also means that you should use this solution if you are sure that you are going to use PCVR for a prolonged time (e.g. for a whole day). Also, be sure to have a powerful PC that can stand rendering to a 4K display and has a DisplayPort port. As always with Pico, this is a solution that is perfect for prosumers and enterprises: if you have all the required setup, this is going to be a functionality that you will love.
I hope you liked this article, and if it is the case, please share it with your friends, and subscribe to my newsletter to not miss the full review of Pico Neo 3 Pro when it will be out!
Disclaimer: this blog contains advertisement and affiliate links to sustain itself. If you click on an affiliate link, I'll be very happy because I'll earn a small commission on your purchase. You can find my boring full disclosure here.


