Getting started with Aryzon SDK on Unity
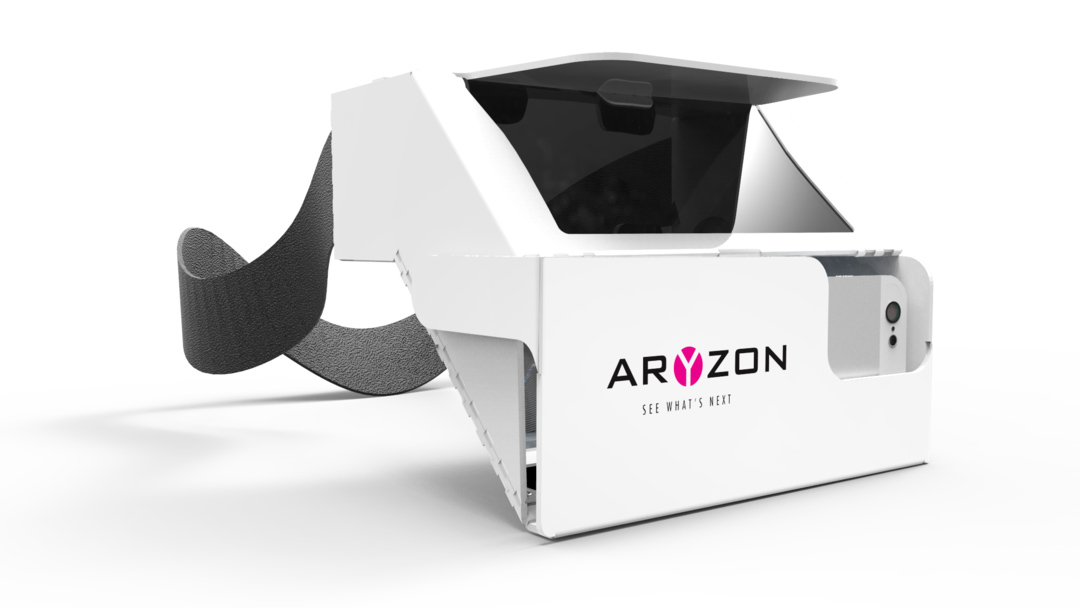
Last week I’ve given you a detailed review of Aryzon, the cheap augmented reality viewer made by some Dutch guys. I really love this project, since it allows everyone to get started with AR by investing only $30. A lot of people that can’t afford to buy a HoloLens, Meta 2 or Magic Leap (if it will ever come out) finally can experiment with augmented reality! But… how is developing for this device? How is the Aryzon SDK? Well, I’ve tried it for you and these are my first impression and my little tutorial on how to get started with it.
First of all, I’ve to say that my experience with Aryzon SDK has been very very positive: especially if you use Unity 5.2 and you have some previous experience with Vuforia, it is really really simple to use. The only problem is that currently there’s not a documentation section on the website and the only resource for developers is this forum with random questions and info. I think that they’ll have to separate the section of the website with the docs and the tutorials (that must be tidied up a bit) from the developers’ forum.
Anyway, the best place to get started is this page that gives you some hints on the setup of the SDK. From there you can learn some interesting things:
- The SDK is Unity only. At this moment you can’t develop an Aryzon app in another way;
- If you develop for iPhone, Aryzon has been already integrated with ARKit, solving some of the issues that I highlighted in my previous video;
- If you develop for Android, Aryzon SDK has been built on top of Vuforia (as I suggested in my first post about this device);
- If you develop for Android, it is advised to use Unity 2017.2 or above, since Vuforia has been directly integrated into the engine (I can confirm this, with Unity 2017.2 installation is super-easy).
If you don’t like written text (why? It is so beautiful!) and you prefer videos, I suggest you start from this page with Aryzon video tutorials. I have to warn you that while the tutorial videos are very well made, they don’t have any audio, so it seems like you’re looking at some kind of silent film.
So, to get started with Aryzon on Unity, what you have to do? I’ll guide you through the development for Android using Unity 2017.2.
First of all, you have to download Aryzon plugin for Unity on this page and unzip it. After that, you have to create a new Unity project (3D of course) and import the just downloaded package into your project. Aryzon plugin is not that big because it lets external frameworks (Vuforia and ARKit) do the heavy lifting of performing environmental mapping and augmented reality. It contains various scripts, plus what is necessary to get started with the experience: two sample scenes and some sample prefabs.

Both the scenes and the prefabs are of two kinds: Gyro and Vuforia. Gyro is used to perform a simple rotational augmented reality… we can see that as a 3DOF augmented reality that is performed only reading data from gyroscopes. You can rotate your head and see augmented reality elements all around you: not the most interesting kind of AR but it can be useful for some purposes. Vuforia is the classical acceptation of augmented reality: you put virtual elements on your physical world and then you can move and rotate your head and they remain fixed in that place. At the moment the system requires a marker to work, but in the future, when Vuforia will integrate ARCore, this step won’t be necessary anymore.
I’ll concentrate on Vuforia tracking because the other one is so boring… and it also didn’t work on my Note 4 device. Beware that even if you want to perform only Gyro tracking, you’ll have anyway to enable Vuforia or the project won’t build!
So, let’s start! Create a new scene and save it with the name that you wish (I chose “AryzonTonyYeah”). Now let’s configure Vuforia and all the build process. Select File->Build Settings and add the current scene to the build scenes. Then switch platform to Android (select Android and click on “Switch Platform”). Let Unity do its dirty work.
Now select “Player Settings…”. On top of the Player Settings choose your company name and product name. Then choose Other Settings option group and choose a package name that you like (e.g. com.Skarredghost.AryzonTony) and set Device Filter as ARMv7 and remove Android TV Compatibility (Vuforia doesn’t like it).

Now go to XR Settings and select “Vuforia Augmented Reality Support”. The last step is fundamental to build the project next, even if you just use Gyro tracking.

Ok, the projects settings are perfect now. Delete the Main Camera from the scene. In the Projects window open the directory Assets\Aryzon\Sample Scenes and drag the scene “Vuforia Tracking” into the current scene.

Copy (or move, as you wish) the Aryzon and Image Target gameobjects from the imported scene to the brand new scene that you created. Remove the imported scene from current scene by using its little contextual menu and don’t save if Unity requests you to do so.

What we’ve just done has been copying the core Aryzon elements into our scene. We could have made this passages in various other ways, as:
- Going to the other scene, copying the various elements; opening our scene and pasting them;
- Saving the sample Vuforia Tracking scene with a new name (as “AryzonTonyYeah”);
- Inserting into our new scene directly the AryzonVuforia prefab (that you can find in Aryzon\Prefabs) and a Vuforia Image Target (that you can find in Vuforia samples… but then you should configure it to work with Aryzon marker);
but this way was cooler in my opinion! 😀
What you have just pasted into this scene are:
- Aryzon: the magical camera of Aryzon SDK, that combines augmented reality with stereoscopy. It includes Vuforia camera for the marker tracking and some other logic to perform stereoscopy;
- ImageTarget: if you’re used with Vuforia, you know what I’m talking about. Otherwise, you should now that this is a Vuforia element that represents the marker. It contains a behaviour named ImageTargetBehaviour that lets you choose the marker that you want to track (if you use the game object of the sample scene, it is set automatically as the Aryzon White marker and you don’t have to configure anything) and other scripts to hide all the children of the marker when it is not tracked. As children of this gameobject, you should put all elements that should be visualized in AR. It is the origin of the AR world. By default, Aryzon puts there a cube, that changes color when it is gazed. The cube uses VRInteractiveItem that is a script from VR Unity samples that makes the cube interactive with gaze; and CubeInteractiveElement, a behaviour that gets the events from the previous scripts and implements the actual logic of the cube controlled by gaze (it changes the color of the cube when it is looked at).
At this point, you’re done. You have just to remove the cube and substitute it with the elements that you want to show in AR, with the logic that you wish: since the only possible interaction in Aryzon is through gaze, my advice is to implement some gaze-based logic, maybe using the VRInteractiveItem script as a starting point. All the children of the ImageTarget will be your world augmentations. So now put there what you wish and you magically have your AR app (or leave the cube for the first build and then toy around a bit next time!).
Now we’re almost ready… there’s only a last Vuforia configuration step to perform. Vuforia to work needs some identification key for your app: Vuforia is a commercial framework and you’re free to use it for hobbyist purposes, but they want to check your actual usage so that you stay inside the “free” borders that they give to you. To let them do this, you need to embed a dedicated Vuforia App ID inside your app. Obtaining it is quite easy and you can see the process in details in the tutorial video posted above. Basically, you have to:
- Go to Vuforia Developers website;
- Register to Vuforia or Login if you already have an account;
- Go to the License Manager tab and select Get Development Key;

Let’s create a new app inside Vuforia portal… you can give it the name that you wish, it doesn’t really matter to Vuforia (click the image to enlarge it) - Make up a name for the app and accept all the agreements signing with your blood;
- Go to the page relative to your newly created app inside the License Manager tab;
- Inside the License key sub-tab, copy all those strange symbols forming your app license key;

The license key we have yearned so much! (click the image to enlarge it)
Now return to Unity, explode the Aryzon gameobject in the scene and select the AR Camera child.

Search the VuforiaBehaviour behaviour and click on the “Open Vuforia configuration” button. Paste your License key inside the dedicated space and voilà you’re done! Your app is now authorized!

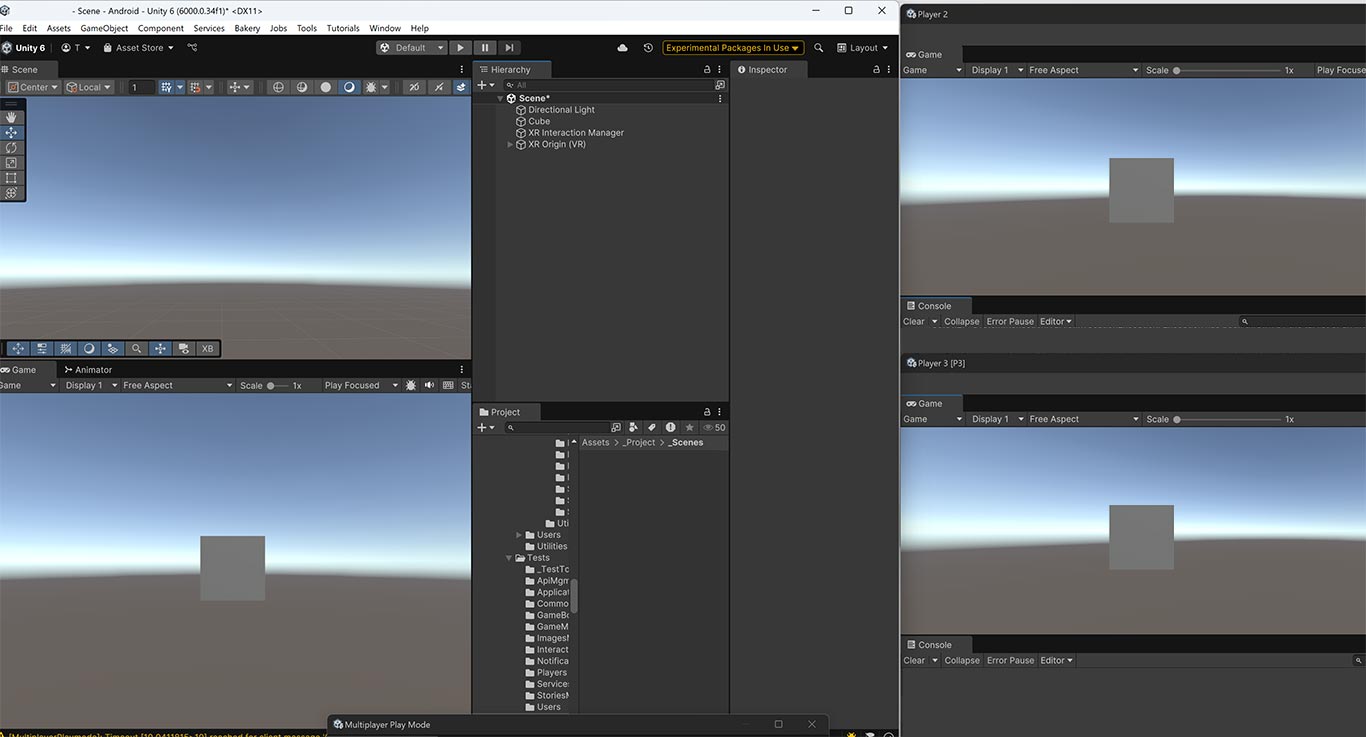
Now hit Play in Unity and see the cube… ehm, being a cube. The Game window is split in two (for the stereoscopy) and makes you see your augmentations. You can rotate your camera inside the game by selecting the Game window and pressing the ALT key while moving your mouse: this is super-useful for fast debugging your AR app (even if, I have to say, the HoloToolkit of HoloLens has a bazillion features more… you can move your camera, you can import places, etc…). Play with it a bit and see the cube changing color when the cursor hits it for some time. Then hit the Play button again to stop execution… it’s time for a build now!

Since we’ve already set up all the build settings, everything is ready to go. Select File -> “Build and Run” with your Android phone connected to the PC (of course you must have already Android SDK installed on your PC). Wait for the app to launch on your device, put the phone into your Aryzon viewer, look at the marker and enjoy!
Before ending my tutorial I want to tell you that in the directory Assets\Aryzon\ you can find two readme files that can guide you in the setup for iOS and Android, with some details that I omitted for some special cases as for instance how to do if you have a previous version of Unity or if you want to use a customized marker of yours.
As you can see, everything is very straightforward. This easiness is what I loved of the Aryzon SDK. Once you’ve configured it, you’re immediately ready to do something awesome! And you, what are you waiting for? Open Unity and create the next AR killer app with Aryzon!
Disclaimer: this blog contains advertisement and affiliate links to sustain itself. If you click on an affiliate link, I'll be very happy because I'll earn a small commission on your purchase. You can find my boring full disclosure here.


