
How to shoot cool screenshots and videos on your Lenovo Mirage Solo and save them on your PC
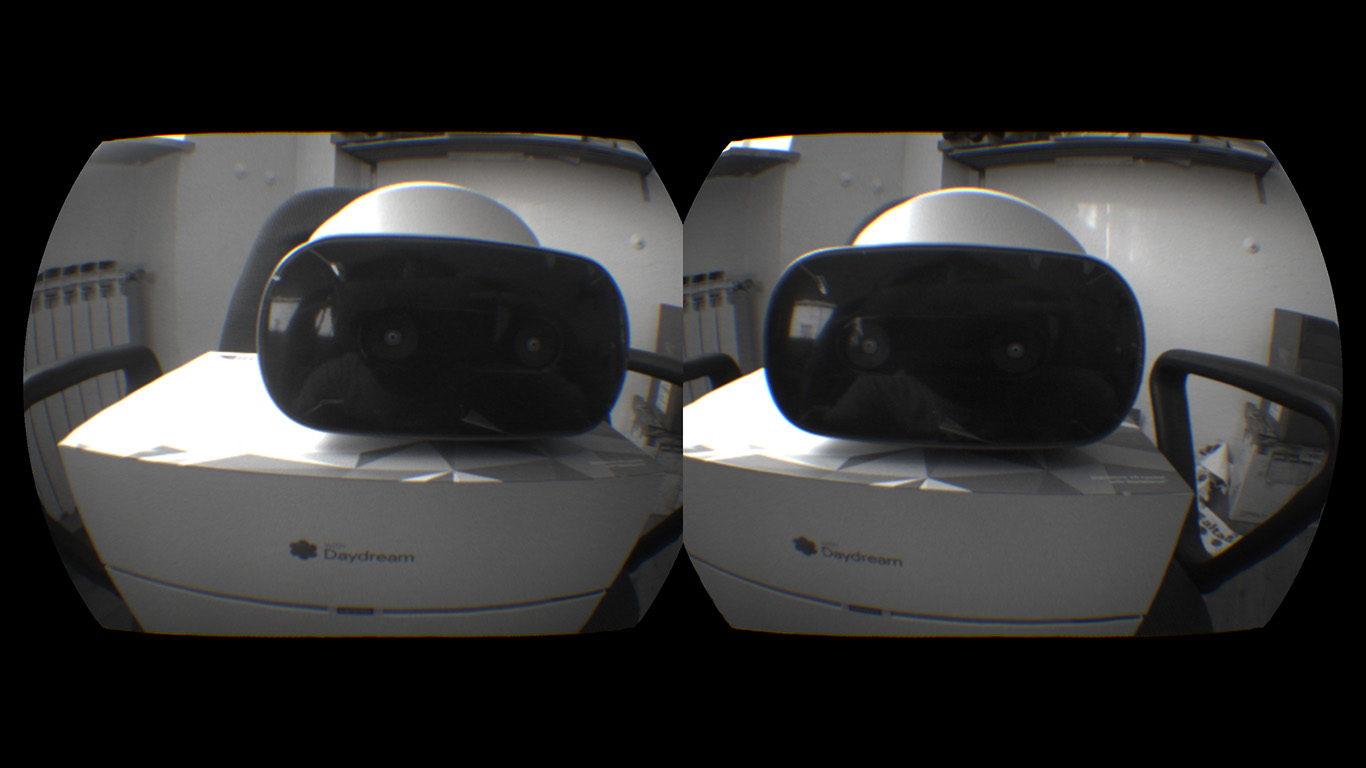
Yesterday I had to return my Mirage Solo to Lenovo. Unluckily it was not mine and was just a review sample that I used to learn how the device is so that I’ll be able to publish its review in the following weeks (stay tuned!). Of course, the article of the review, exactly as the ones with the tutorials on Mirage Solo, need to feature screenshots and videos of the content shown inside the headset. But… how to record them? And how to move them on your PC so that you can use or share them? Well, I’m here to help you…
How to save screenshots and shoot videos on the Mirage Solo
Believe me or not, this is the easy part. Lenovo has done a tremendously good job in making easy the recording of screenshots and videos on the Mirage Solo.
The first thing that you have to do is enabling developer mode on the device and then you have to activate screen recording capabilities. You have to do this operation only once, so don’t be lazy and use your controller to do it now. Press Daydream button -> select Settings Icon -> All Settings -> System -> About device and then click on “Build Number” 7 times, until the system tells that you are now a developer. Hurray! Then, return back to the All Settings menu and this time pick Daydream -> VR settings -> Developer Options. Scroll the developer options and activate the ones about doing screenshots and recording VR videos via Chords (there are two other ones regarding recording via ADB, you can ignore them). Great, you’ve done the most difficult part!
If you like tutorial videos, here you are one that guides you until the Developer Options stage:
Ok, once you’ve done that, the job is daaaaaamn easy:
- If you want to take a screenshot, you have just to press Daydream button + Volume Down on your controller;
- If you want to shoot a video, you have just to press Daydream button + Volume Up on your controller to start and then stop video capturing.
And that’s it, super easy and super comfortable. The videos are recorded from the point of view of only one eye and not distorted, so they are beautiful to be shared. There are only two little problems: one is the square frame size (maybe something like 16:9 would have been better), and the other one is that sometimes the key combination doesn’t get detected at the first try, but these are not big issues. Shooting content with the Mirage Solo has been great for me, the best recording experience among all the standalone virtual reality headsets out there.

How to save videos and screenshots on your PC
After you have the photos on your device, you have just to move them onto your PC. On all the Android devices, this is simple: you just attach your device to the USB port of your PC, and you access your device via File Explorer. That’s it. But in the Mirage Solo, this is not possible. Why? Well, the easy answer is “because f*ck you, that’s why”, while the more technical one is that on Mirage Solo you can’t activate MTP (Media Transfer Protocol). As I found in this page: “For system stability, the MTP option is disabled currently”.
This is absurd and in my opinion a huge design error by Lenovo and Google. You can’t disable MTP, it is a fundamental feature on Android devices!

So, how to overcome that and copy your beautiful multimedia elements on your PC? Well, I’ll give you four possible solutions:
- Use adb. If you are a developer, for sure you know what I’m talking about: the Android Debug Bridge, the tool we all use to deploy content on Android devices. If you have Android Platform Tools installed and you have put their directory inside the system PATH environment variable, all you have to do is:
- Enable USB debugging on the Mirage Solo (if you don’t know how to activate it, it is in the main developer options… look the above video, there is a moment where I halt over the main developer options before going in the Daydream ones…);
- Connect your Mirage Solo via USB;
- Open a command line prompt on your PC and then run the command “adb devices”;
- Look inside the headset: you should see a window that asks you if you want to authorize a computer with a certain fingerprint. Answer yes and flag to remember this answer;
- Return on your PC: re-run “adb devices”, you should see the ID of the device and the writing “device”. Ok, now the device is ready to connect to the PC via adb;
- Return to your Mirage Solo and locate the video (or photo) that you want to transfer. If you have problems in finding it, as me, go to Menu (pressing Daydream Button) -> Settings -> All Settings -> Storage -> Photos & Videos;
- Select the video you want to transfer with your controller. The system will start playing it;
- Tap on the video so that the system will show you the video controls. Go in the upper left corner of the window and click on the three dots menu;
- Select “Info”;

Open the contextual menu and select “Info” - The system will show you various info on the file, included the full path of the video;

Take note of the full path of the media on the device. - Return on your PC, where the command line is opened and write there
adb pull <VIDEO_PATH_ON_DEVICE> <DESIRED_VIDEO_PATH_ON_YOUR_PC>
to move the video from the device to the pc. For instance, for one of my videos, I wrote something like
adb pull /storage/emulated/0/Movies/20180813_163916.mp4 C:\Users\anton\Videos\MirageSoloVideo.mp4
- Enjoy the video in the directory you chose
This process is for sure not easy, but does its job and lets you move content fast, that is what you need for large video files. I have to warn you that I had problems in connecting the Mirage Solo to my Windows 8.1 laptop, while everything went easy with my Windows 10 PC.
- Use Google cloud services. The Mirage Solo uses a runtime made by Google and so it is well integrated with Google Services. Here the plan is: take the photos and put them in some albums on Google Photos. Then with your PC or whatever device, you can log in to your Google account and download them. The necessary steps are:
- Open your Mirage Solo and locate the video (or photo) that you want to transfer. If you have problems in finding it, as me, go to Menu (pressing Daydream Button) -> Settings -> All Settings -> Storage -> Photos & Videos;
- Go to the upper right corner and open the menu. Choose Select;

Using Select functionality, it is possible to move many media at the same time - Select all the content that you want to transfer;
- The upper bar at this point will be blue. Click on the ‘+’ button;
- In the menu that will come, select Album;

Create a new album, that will be then shared on your cloud account - Give a name to the Album, then confirm the album creation by pressing the “V” button in the upper left corner. The photos will be uploaded to the cloud in no time.
This method has the advantage that doesn’t need any technical knowledge… and can also be used to share the photos with your friends: next to the ‘+’ button, there is a share button that lets you send the pictures to your Google contacts. The disadvantage is that you need a Google account associated with the device (the association is easy to do as with any other Android device). And then there are privacy issues (maybe you don’t want to share your photos with Google) and also upload-download times that you don’t want to waste;
- Use an SD card. The Mirage Solo lets you insert an SD card into it. You can copy the content to the SD card using methods similar to the ones described above (when you select the photos, you can use “move to” in the contextual menu) and then put the SD card on your PC (provided that you have a card reader) to transfer your files;
- Use this method to install any Google Play app on your Mirage Solo and then use one of the standard sharing apps like Dropbox, Google Drive, etc… to share the files between devices (and so also between your Mirage Solo and your PC).


In my case, for videos, I used the first approach, because it offered fast transfer speed. For photos, I used the second one. As you can see, the paradox is that the part that usually is tricky to do, is easy on the Mirage Solo, while the usual easy part is hard to perform. But you can survive, I promise you.
I hope to have helped you in creating wonderful content from your Mirage Solo. Feel free to share your creations with me and if you have any problems, ask here in the comments! And if you want to make me a bit happy, why don’t you subscribe to my wonderful newsletter? 😉
Disclaimer: this blog contains advertisement and affiliate links to sustain itself. If you click on an affiliate link, I'll be very happy because I'll earn a small commission on your purchase. You can find my boring full disclosure here.

What is your overall opinion on the Mirage Solo? I’ve tried it but not “owned” it…
I’ve enjoyed the Daydream experience much more than anticipated; a good number of gaming applications like VVR, Eclipse,Bladerunner, Deadhalls. Seamless integration of Google apps (YoutubeVR, Maps,Photos). Quirky experimental applications and experiences, WebVR,etc. Personally preferred it to GearVR.
This was all on Google Pixel XL phone with Daydream View and 2017 Daydream View. File transfer for all media was flawless.
I see Worldsense benefit, but crippled with 3DOF controller. Your thoughts??
I’ll publish my review at the end of the month or beginning of September. Is a device with all the pros that you have highlighted and I loved them, but has also some absurd cons like the absence of MTP or the terrible ergonomics. So, it’s like a mixed opinion: it is a nice toy but could have been much better
Interested to read your review.
In the meantime i’ve just been trying this 👍 https://uploads.disquscdn.com/images/76e6a3427afc5bdd3111666ae3bc2d4583c7eefce53fee9b9356ebd7234735fe.jpg
NOOOOOOOOOOOOOOOOOOOOO I want to know your impressions!
It was really impressive compared to my previous experience of Bandai Namco which was the let down of “Argyle Shift” (mech combat).
Vive trackers fitted in special finger less glove on each hand allowed us to grab items from the track such as hammers, green shells, etc. This added a really good element to the experience.
https://uploads.disquscdn.com/images/b90205bd92d02e52f669cbe860daeb4f3ead4a620f96b0bce963fe5ce737123e.jpg
It was longer than expected, with a track featuring a number of different environments including some air time where you fly your kart across the sky.
Graphics were very colourful and vibrant which offset the limited resolution and SDE of the OG Vive it uses, microphone allowed communication between the players – it was very cool to turn your head and see other players, who could wave at you using vive tracker.
The best critic to ask was my wife, who does not think much of VR (she is fed up finding me wandering around house wearing headsets) but she really enjoyed the Mario Kart VR experience and wanted to play again!
I should point out its a minimum of 2 players, you cannot play by yourself.